Search This Blog

Wednesday, 29 July 2015

Test camping

Scenic view of a hiking shelter and a green valley
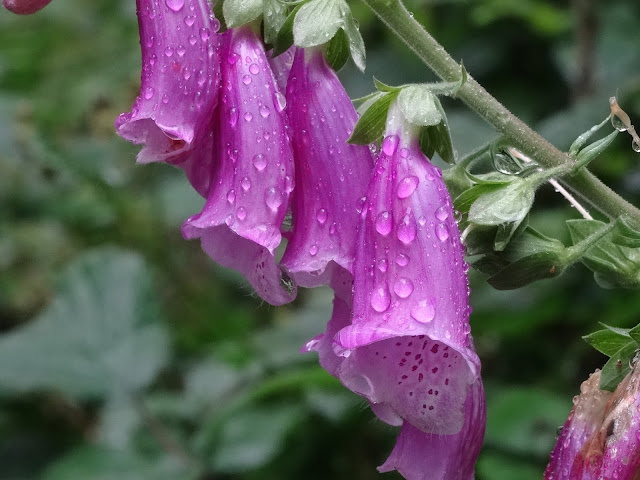
Close up of foxglove flowers and raindropsClose up of a wild flower bouquet and a green bug
The camp
Close up of my knitting, the Spencer cardigan
Woods on the left, field on the right
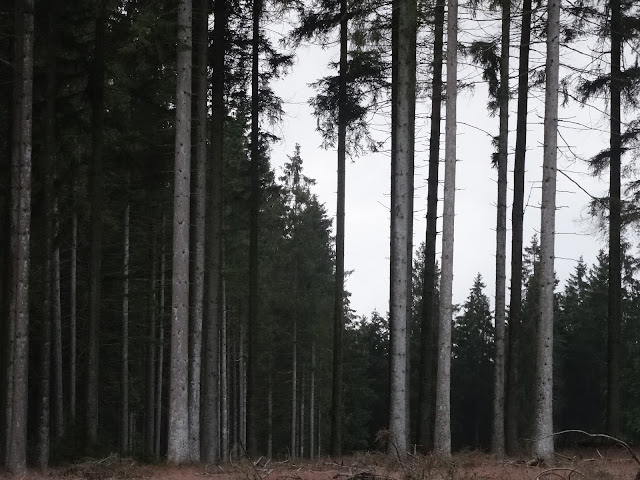
Foxglove flowers in a fieldFirs in the wood
Deep dark woods
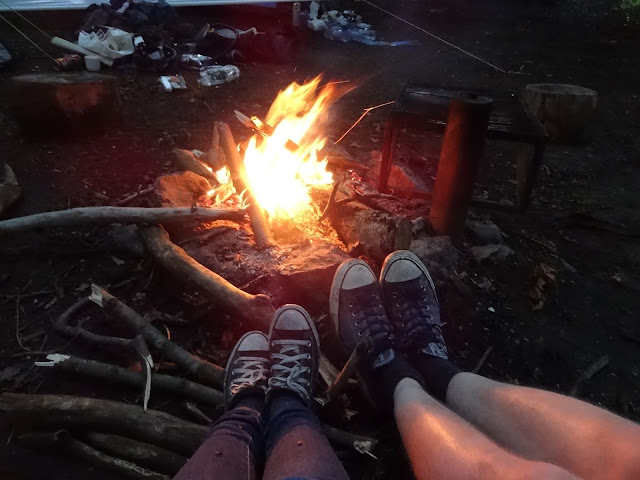
Feet at the campfire

In preparation for our trip to Iceland we bought a tent. But we're both not exactly camping veterans and this is actually the first tent I (co-) own so we thought it would be good to use it at least once before we start pitching it under extreme weather conditions in Iceland without a clue about how it works. 

Belgium isn't big and there's definitely not a lot of nature (the 3rd most densely country in Europe according to wikipedia) but we manage to find some good hiking spots here and there. This time we were especially lucky because the weather was not great so one of the very popular hiking trails in the Ardennes (Ninglingspo) was almost deserted. We came across a few die-hard families with kids splashed with mud all over but that's about it. It was raining or half-raining almost all the time so I didn't take many pictures during the first half of the hike, even though that was the more beautiful one. 

For the test camping we wanted to be somewhere as much outside civilisation as possible. As I mentioned above, this is very difficult in Belgium. We also didn't want to hike with all our stuff so we opted for an alternative: a "bivouac" site in the woods which is essentially wild camping (i.e. without any facilities) but in a designated zone. Unlike in Scandinavia and Scotland, you can't just put up your tent wherever and chances are that most of the land is owned by farmers so finding a good camping spot is difficult. We discovered a really good website called "Bivakzone" where you can find details about designated sites where you can camp for free. 

It was not as isolated as I had hoped and when we arrived, there were already three other tents pitched, but it was a nice evening in the end. We could make a camp fire and some of the other people grilled sausages. Too bad I didn't bring any marshmallows! The only disadvantage is that there was no access to drinking water, only a small brook about 10 minutes walk away where you could wash yourself. But that's the idea of wild camping, I suppose...

I didn't sleep great, mainly because I used my old crappy sleeping bag and was freezing all night, but I did make some progress on my "Spencer" during the car trip so that was definitely a yey. Now we're hopefully ready for Iceland!

Friday, 24 July 2015

Dyeing yarn with natural dyes


After my initial stint at dyeing yarn with avocado pits for the knitting competition earlier this year I was very motivated to continue exploring this new hobby and registered for a workshop at the "Jardin des plantes à couleur" in Namur. The cool thing is that the garden is actually a place to educate people (definitely not only children) about which plants can be used for dyeing and how this works so they grow all the plants themselves; the workshop was one of the activities they organise.

I found it especially intersting because it was advertised as a workshop of "dyeing wihtout mordants" which is, strictly speaking, not actually true. As the instructor explained it is rather working with natural mordants that occur either within the plant or is added but is not too chemical. The lines are obviously blurry here because what actually happens with the plants is still a chemical process, even if you use natural products. But the point was not to use any of the more agressive mordants such as alum which I used in my first home-dyeing attempt.

The workshop took the whole day and initially we were planning on dyeing 1 kg of yarn each in 10 different dye baths but we reduced the quantity to 500 g with 10 skeins à 50 g to speed up the process a little bit. It turned out still to be an intense 8-hour day with only a short lunch break but the result is magnificant and I'm super happy I did it to understand the processes a little bit better.

We worked with dye made from cochenille (little bugs - lice actually - that are dried and ground), indigo (a powder made from plant seeds), onion peel, rhubarb root, walnuts, and madder root. We ended up with a whole rainbow of colours, the shades depening on the yarn used and how long the yarn was being soaked. For the walnut, the cochenille, the indigo and the rhubarb we used the bath for a second dye and the colours came out quite differently, if even more beautifully.

The recipe we used was very basic: for however much of the dye material we used we added 20 % green tea (just the normal one from the chinese supermarket) and 10 % citric acid. While the latter ingredient was bought in powder form, the instructor explained that you can also just add lemons but for the amount needed it would be quite a lot so it is actually easier to use the concentrate.

The only exception was the indigo which was much more complicated. I have to admit that I probably won't try that again at home, even though the blue was beautiful. Still, I liked using the everyday materials such as onion peel and walnuts which also gave amazing colours and I already started collectinng all my onion peels from cooking. I got a lot of good ideas and I'm excited to start experimenting again in my own kitchen!

Sunday, 19 July 2015

Miette


After my "Lilou" dress last summer I finally got around to sewing another of Tilly's lovely patterns: the "Miette" skirt. 

I still had this patterned print fabric from South Africa in my stash and thought this would be perfect for this skirt. I especially liked the appliqué pockets but, ironically, there wasn't enough fabric and I had to skip the pockets this time. 

It's a wrap-around style skirt so it was interesting in terms of constructions - I think I ended up confusing the two side panels and I'm not sure if I actually sewed them together the right way round. But the end result looks like a skirt, that's enough for me. 

I shortened the pattern quite a bit but according to Emily's advice I took out some fabric in the middle, which is very clever because you don't distort the overall shape. I had to improvise a little bit on the waistband and the tie because the fabric was really just enough for the basics, not even the tiniest scrap of fabric was wasted. 

The sewing was very straight forward and I managed to do it within a couple of hours (Of course, always longer than you plan but that's a given). I think I spent more time to figure out how to fit the pattern pieces on my limited amount of fabric and improvising where there were a few centimetres missing. 

But in the end I'm happy with the end result, even though the tie is a bit too long so I might still shorten it. And it was ready just in time to wear it for a day out in the park, including open-air concert. "Miette" passed the test!

P.S: No, I don't tan.

Monday, 13 July 2015

Swatching and switching


This summer has not been very productive in the strict sense, at least concerning my knitting. It has been super hot the last week and I could barely touch any yarn, just existing was already too much effort (note: if it gets hot in Belgium it feels a million times warmer because we're simply not used to it!). I also learned a new word in Dutch: "Hittegolf".

But working on the small things is also work and I've done a lot of swatching for two projects that I've been dying to get on the needles for a while. The first one is Sigrid's "New Waves Cardi" and the second one Anna Wilkinson's "Spencer fair-isle vest" from the book "Learn to knit - love to knit". Both were love at first sight and I immediately thought that they were great projects to get rid of my stash of Latvian yarns that I have now in all colours of the rainbow. 

The "New Waves Cardi" has a very simple but intriguing pattern and I was super happy that Sigrid sent me the draft to do a test knit. I started swatching and it seemed to work out fine with the needle size indicated in the pattern and I also liked the red and white contrast. But when I got started I realized fairly quickly that I was knitting too losely and the bodice was already faaaar to big. Quite frustrating because I felt like I did my swatch for nothing but something went obviously wrong here. I unraveled it completely and the project is now snoozing again until I've taken up the courage to continue.

In parallel I was also knitting some swatches to work out a good colour combination for the "Spencer" vest. Since I didn't buy the yarn recommended in the pattern and I used my own stash, some colours were not corresponding exactly to the original and I had to alter the combination a little bit. It was harder than I thought, especially in getting the dark-light contrast. I also realized that it is much better to have some "dull" colours in stock because all my stash is rainbow-coloured and super bright so actually the colours don't work so well together. In the end I settled on a combination which I like though and I bought an extra pair of smaller needles just in case.

I think I finally worked out a colour scheme that I like and I cast on for the vest/cardigan to be. Updates soon!

Thursday, 2 July 2015

Knit like a Latvian

Last week, coinciding with my birthday, I attended a knitting workshop on Latvian mittens as part of the European Festival of Latvian Culture here in Brussels. Since I had been to Latvia recently and I had bought lots of yarn I thought this would be a good opportunity to learn some new skills and get inspiration for some winter mittens. 

The workshop was preceded by a lecture on the tradition of knitting mittens in Latvia, specifically in the regions of Kurzeme and Latgale. The instructor/presenter had actually done a lot of academic research on folk traditions in Latvia and even published a beautiful book on Latvian mittens with lots of designs and patterns. I was so excited about the workshop that I had troubles sitting still during the lecture because I wanted to start knitting so badly!

It was the first time I actually took part in an organized workshop and even though we had three hours, time passed super quickly. I still managed to start a swatch for a mitten and learn two new techniques: making a fringed cuff and how to knit a Latvian braid which I had been wanting to learn for ages. Most knitters were quite advanced so each of us could progress in our own time and we could jump straight in and didn't have to start with the basics.

I still haven't finished my "Riddari" but now I want to get started on a pair of Latvian mittens straight away!