Search This Blog

Thursday 22 September 2016

Marigold


As I wrote in my previous post on this project, this pattern was love at first sight. I don't normally buy patterns (there's enough free ones on Ravelry) but this one was perfect for what I had in mind with my stashed alpaca yarn.

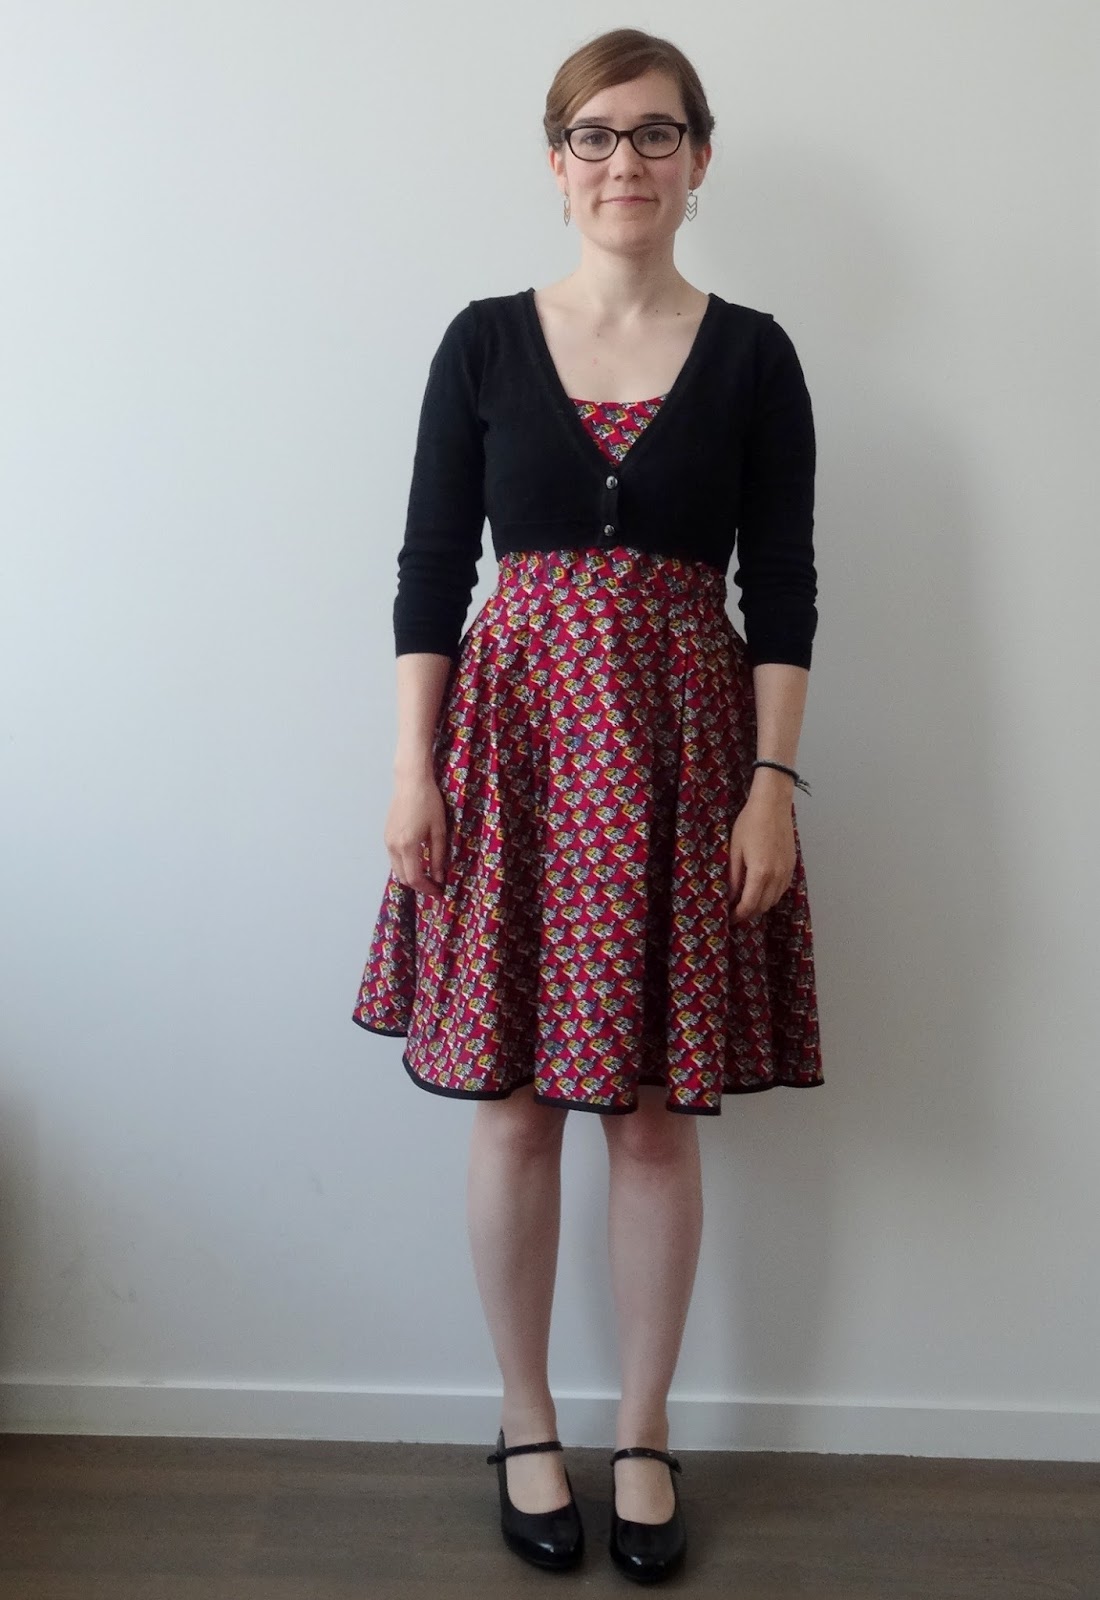
I went for the "Marigold" pattern because I liked the lace panel in the back but for the rest it is a very plain cardigan, perfect to wear over a dress. I decided to lengthen the sleeves because the alpaca yarn is very warm, so it doesn't make sense for me to have short sleeves with an ultra-warm garment. I also used smaller needles to adapt to the lightweight yarn, which means I had to take up a few additional stitches around the armholes.

Other than that I knitted according to the pattern and there were no major hickups. I used short rows for the sleeve caps for the first time and looks very neat and fits well, I think this is something I will do in future projects, too. Only minor mishap: when I seamed the collar in the back, I didn't assemble it completely in line with the lace panel. You can see on the picture above that the seam is off-centre. But I can live with that.

So, white cardigan, how long will that last? I'm aware of the risks but as a plan B I told myself that I can always dye it in case I manage to spill something on it (which is not unlikely). I'm also curious how much I will wear this cardi in the winter since it's not closed in the front but for autumn this is definitely a great little garment!

***

Pattern: "Marigold" by Cecily Glowik MacDonald, published in "Making" magazine issue No. 1
Yarn: Michell alpaca, stashed from Peru


Thursday 15 September 2016

Lilou II


This dress has cost me so much nerves, I can't even start describing it. Or maybe, I'll just give it a try: to understand how much energy and willpower it has taken me to sew this dress you have to know that it took me almost two years to finish it!!

 After making my first Lilou in 2014, which went relatively fast, I really thought the second one wouldn't be a big deal anymore. I only wanted to add the lining to the bodice and that's it. But for some reason it all went wrong (as I already described in this blog post) and I was extremely demotivated with the whole project. I could only finish it by taking super-mini-baby-steps at a time, e.g. one day only to sew the hem, one day only to attach the lining to the bodice, etc.

The result is ok. It's better than expected after all the cursing and sweating but it's definitely not better than my first Lilou, which was what I had hoped for. Here are my main points of annoyance:

  • The lining. After I destroyed the first one I became so frustrated I just went for the toile that I had already made and used it as a lining. The fabric is cheap and flimsy - it works but it doesn't look great.
  • The hems. I cut the fabric a bit short and in order not waste too much at the hem, I used bias tape. Nothing against bias tape, it kind of saved my sanity in this case but it just doesn't fit the fabric very well. 
  • The inside seams. I tried to follow Tilly's instructions to fix the lining to the bodice and the skirt by hand but I utterly failed. I don't know how it's supposed to work but my guess is that I had too little seam allowance at the top of the skirt so there was no way I could slip the bodice fabric under it. I used bias tape (again) and got a semi-satisfactory result.
  • The zip. I was supposed to go for an invisible zip but it turned out very much visible. It's actually neither a bad invisible one nor a good visible one, I just somehow muddled through. 
  • The fit. It stills pinches the skin under my arms! I thought I had figured it out after the first dress but apparently, no. 
But there are also some things I like and I did actually wear it to a wedding in the end, feeling quite proud of this achievement in spite of all the cons. I like
  • The swinging skirt, really fun to dance in!
  • The fabric: still one of my favourites even though the print is actually faulty and blurred in some places
  • The pleats: bloody awful work to make them align with the bodice but it has paid off
I think the lesson I'm taking away from this project from hell is that I'm not that much of a sewing-person after all. Knitting, that's my thing! I envy all the amazing seamstresses and seamsters that can just sit down, follow the pattern instructions, and have a perfectly fitting garment. Yeah, I'm not like that. I might leave those ambitious projects for a while and only do some very simple stuff to keep me entertained and then I should REALLY invest in some sewing lessons. 

Thursday 1 September 2016

Transformation Thursday: 1950s dress


I found this amazing 1950s-style dress in a second hand shop in town (the best one in Bxl if you ask me. Already the third find I made and even though it's definitely more "vintage" than charity shop and this is also reflected in the price, the stuff is decent quality and they have a very good selection.). Isn't the print completely irresistable?! It reminds me of Nani Iro and a bit of Marimekko but the cut is just pure 50s and perfect for the late summer here.

As you can imagine, the fabric alone would have been enough to sell it to me but I also love the construction of the bodice, the button band, and the pockets. The best thing is: it's completely hand made! I suppose back in the day it wasn't so rare to make your own dresses so it probably shouldn't surprise me but it's so nice to wear something which is a few decades old and has hand-stitched hems probably by somebody who is dead by now. Ok, that sounds a bit tasteless but it's true!

But why am I posting this? Because, unfortunately, it was a bit tight around the boobs and the fabric doesn't stretch a millimeter I had to adjust the bodice and therefore made it into my "Transformation Thursday" category, yey. It's only a very small adjustment but a very useful one in case you also come accross a garment you really love but it's just a tiny bit too tight. Here's what I did:

  • I ripped the side seams of the bodice and carefully detached the facing on the top (you can see the line where the stitches used to be in the close-up picture above)
  • I re-sewed the side seams with more "give" and also re-attached the facing
  • I attached the facing to the bodice with blind stitching by hand, as it had been done before
  • I fixed some botched stitching on the side seams by hand
I was lucky that there was enough fabric in the seam allowance to do this, I will remember that for my next dress "just in case". And in hindsight, it would have been a better job if I had taken apart the bodice completely and detached it from the skirt. But that would have been a hell of a job so now it doesn't look perfect but it makes the dress wearable. Ready for some more Sunday picnics!